G-Code Editor
Elements of the editor
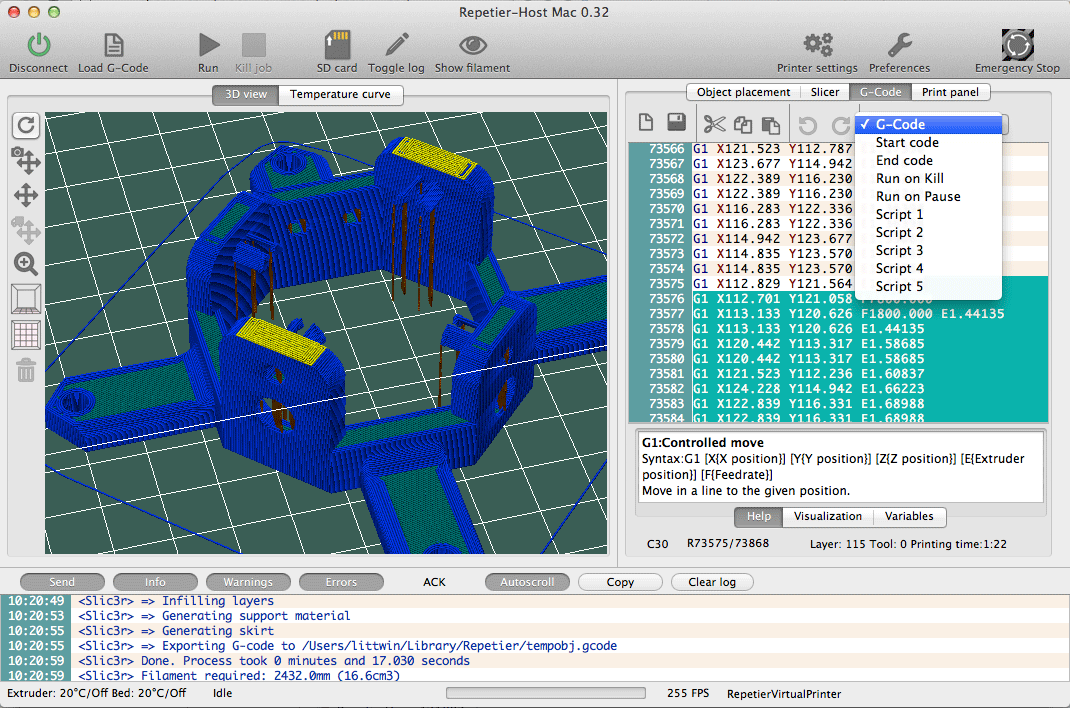
The g-code editor has it’s own small toolbar, where you can select the most important functions. The most important is the file selector. Here you can select what you want to edit. After finishing a slice, the “G-Code” is selected. This is the code generated by the slicer. All other selections are smaller codes, which are executed depending on their intention. These codes are saved as part of your current printer configuration, when you press the save button. Only if the g-code is selected, a file selector appears to select the place to store the data. Then you switch the printer configuration the files will change to the one stored in the this configuration!
G-CODE, START CODE AND END CODE
You surely have already noticed the three button in the toolbar containing the word “job”. Within the host, a job is the assembled data from “Start code”+”G-Code”+”End code”. So if you store or send a job, this always means these three files together.
RUN ON KILL/RUN ON PAUSE
When sending a job to the printer you may want to kill the print or pause the job. After hitting the button, the matching script will be send to the printer. While the kill job is not so important, you might want some code for the pause case. Typical reasons for a pause are switching filament type or modifications on the printing object like adding nuts bevor enclosing it in filament. In these cases you don’t want the extruder to stay over the object. One thing you could do is move the object back with a G1 command. You can do this, because the host remembers the position, where the pause started. After you hit the continue button, the extruder will go back to the starting position. Things you shouldn’t do during pause are:
- Home axis.
- Redefine coordinates with G92.
- Move the z-axis to a deeper position.
Things you can to during pause:
- Switch between relative and absolute coordinates, e.g. for lifting extruder.
- Move extruder.
- Extrude filament, reset extruder position.
- Change temperatures (these are not reset by the host).
SCRIPT 1-5
If you have some frequent task, that require some commands to be send to the printer, you can put them into these scripts. In the printer menu are five commands to send these scripts to the printer.
NEW / SAVE
With the new button you remove all content from the editor. The save button stores the g-code in a selectable file. All other scripts are saved as part of the current printer configuration.
HELP
Not everyone is familiar with the g-codes for 3d printer. To assist you, you can see the meaning of the current code at the bottom, if the help tab is selected. Not all commands will be displayed and some may have a different meaning on your firmware, but the most important are the same on all printers.
Visual screening
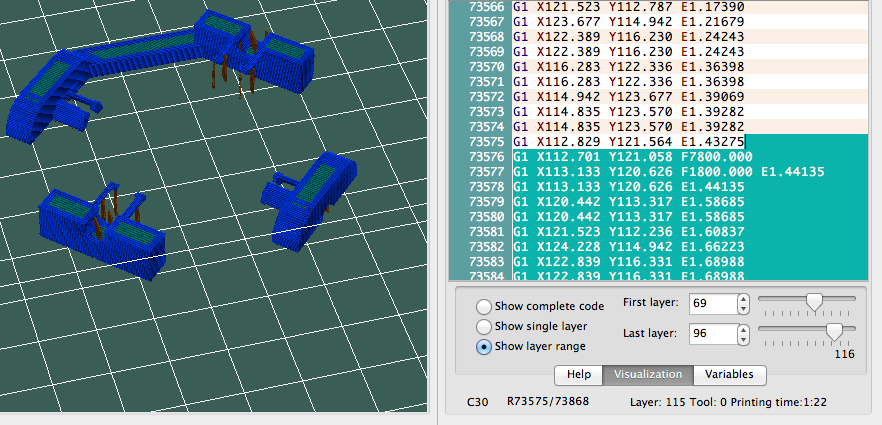
When a g-code is loaded you see the filament model on the left, if not disabled. Normally higher layers hide the content of the lower layer. If you select the “Visualization” tab at the bottom of the editor you can select, which part you want to see. Default is the complete code, but you can also select a single layer or multiple layers. If you search the matching g-code, look at the status bar of the editor. It shows the layer, the row with cursor belongs to. If the current line will produce a printed line, that line will be highlighted in the preview. You can even mark a larger code range and all contained print moves will be highlighted.
Repetier-Talk
Sometimes you need more then to send the simple g-code to your printer. You might want some information text or sound, a pause at a special position or some g-codes that depend on variables in your current slicer. To get all this, you can use special commands added to your g-code. These are executed by the host and not interpreted by the printer, so they work together with all supported printer.
Variables
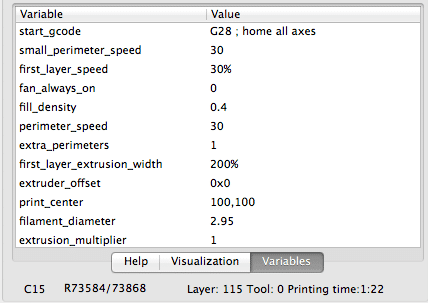
You can add the content of a variable everywhere you want. All you need to is, to surround it with ${}. You cal also say you want the first variable defined. In this case separate the variables with a semicolon (;). You can finish the definition with a default value, in case none of the variables is defined. Start the default value with a color (:).
Example: You want to preheat extruder and heated bed with the values defined by the slicer:
M140 S{first_layer_bed_temperature;Bed_Temperature_(Celcius)_:80}
G4 S180 ; Wait t3 minutes
M104 S${first_layer_temperature;Object_First_Layer_Perimeter_Temperature_(Celcius)_:180}
In the above example the first value is the name in Slic3r configuration and the second one from Skeinforge.
Note: There are always all values available, even if a function or module is disabled! The variables present always match the currently selected slicer and profile.
Commands
@info
The info command writes the text to the log.
@info Hello world
@sound
Plays the sound defined in preferences for the sound command.
@sound
@pause
Waits with sending g-code until the user presses the continue button. Shows the text in the info screen.
@info Please switch filament color
@isathome
Tells the host the extruder is at it’s origin. You need this if you don’t have endstops to do the normal homing.
@isathome


