
Introduction
So, you build your 3d printer and want to get it going? Then you came to the right place. With Repetier-Firmware you have chosen a high end firmware that works with nearly all Arduino powered printer boards. In this manual you‘ll learn how to configure, compile and upload the firmware to your printer board. Then I show you how to connect your printer and how to use it correctly. A special chapter handles common problems and how to solve them.
Required hardware
The firmware works with all Arduino based RepRap boards with at least 64kB flash memory. If you plan to use all possible features you need a board with at least 256kB flash like the Arduino Mega 2560. If you have no board yet, get an Arduino Mega 2560 with RAMPS 1.4 shield. It is very flexible and has enough free pins for later extensions. For delta style printers you should use a Arduino Due compatible boards like RADDS board. The nonlinear computations require much memory and cpu time so a due based board, which is around 10 times faster is a good option. This is also required if you need high stepper frequencies from high micro stepping. With AVR based boards the maximum frequency is 30-40kHz with quad stepping. A due based board can do 100kHz without double stepping enabled and with quad stepping you can reach around 300kHz (for deltas a bit less).
When I said it works with all boards with at least 64kB flash memory, I meant you can get it running. The only real difference between the several boards is the pin to function assignment. When you set the correct values, it works. For easy configuration the most common boards are already included with their correct pin assignments. The currently supported boards are:
- Arduino Mega/RAMPS combination
- Gen 6
- Sanguinololu
- /Gen7 1.1 and above with 16 or 20MHz
- Teensylu
- Printrboard
- Foltyn 3D Master
- MegaTronics
- RUMBA
- Rambo
- RADDS Shield for Arduino Due
- And many more…
Provided functions
Fast and reliable communication
The best printer and firmware does not help, if the communication breaks or commands are misinterpreted, because a character was lost or changed during transmission. For that reason, the firmware uses checksums to verify the data integrity. This requires a host software that sends the commands including a checksum and line number. This is true for all RepRap compatible host software I have seen. The checksum is build as simple 8-bit xor value over the command. This offers some room for errors, which can not be detected by the firmware, like adding an additional char twice, which has no influence on the checksum.
To overcome this disadvantage a new binary data protocol was added into the firmware. This new Repetier-Protocol uses binary data transmission and a 16 bit checksum. The binary data speeds up the analysis of commands and reduces the needed data to rawly 50% of the standard ascii transfer. The 16 bit Fletcher checksum makes the communication very reliable. Currently only Repetier-Host supports sending data in this format. You can still use other host software, like Pronterface. The firmware automatically detects, if a command is in ascii or binary format.
For a fast communication a wide range of baud rates can be used. For the most common 16MHz boards a speed of 250000 baud is recommended, if the used os/host software supports this setting.
Fast and smooth print
Depending on your hardware, the firmware gets your printer moving fast. Normally it can move the printer faster then the extruder is able to print cleanly. It uses linear ramps to accelerate and decelerate your extruder. The firmware stores several moves in a buffer, so it doesn‘t need to stop on short communication pauses. The buffer is also used to optimize the movement path. That way less acceleration/deceleration is needed and your print gets smoother and printing time is reduced.
Storage of configuration parameter in EEPROM
The AVR microcontroller used on the board have a small EEPROM which can store data permanently. This data is not lost after a restart or after uploading a new firmware version. If you want, the most important parameter are stored in this memory area. That way, you can change these parameter while the printer is running. The alternative would be to change the configuration file and upload a new version of the firmware.
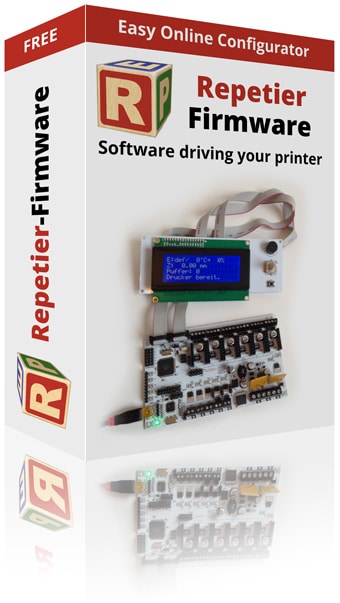
Graphical user interface
You can add a LCD display or optionally some keys or a rotary click encoder to control printer functions independent of any host. With a connected sd card reader you can even print completely without a host. The LCD will show the most important parameter (which you can configure) in one or more info screens.
Some boards like Gen 6/Sanguino have not enough free pins for a direct connection of the interface hardware. For this reason the interface also supports hardware connected via I2C bus. More on this in the user interface chapter.
SD card reader support
You don‘t want your computer running all the time you print? Your computer adds pauses when you do some fancy things while printing? Add a sd card reader to your board and copy the file to your card. Then print from card and your printer will continue, even if you computer crashes or is turned off.